
Follow us


4 Dishwasher DIYs Homeowners Should Be Doing
By Matt Schmitz
June 04, 2026
Whether you’re a first-time homeowner or have owned your home for years, it may come as a surprise to you that you need to wash your dishwasher. You read that right, we said wash your dishwasher. As we’re fond of saying at HomeServe, homeownership is just an endless cycle of paying bills and cleaning things that clean other things — and your dishwasher is by no means an exception to the last part.
This May Also Interest You: Why You Shouldn't Overload Your Dishwasher
If you’re saying to yourself right now, “I’ve never once even thought of cleaning my dishwasher,” don’t worry; we’ve got you. We’ve boiled dishwasher maintenance down to the following four tasks that you should be doing at various intervals, but don’t worry, each one is eminently doable for most homeowners (or your children if you’re smart). Plus, they’ll help keep your dinnerware, flatware and stemware spotless, and your dishwasher smelling fresh, operating efficiently and running longer before you need to replace it.
Here are four dishwasher DIYs homeowners should be doing:
1. Clean Your Dishwasher Filters
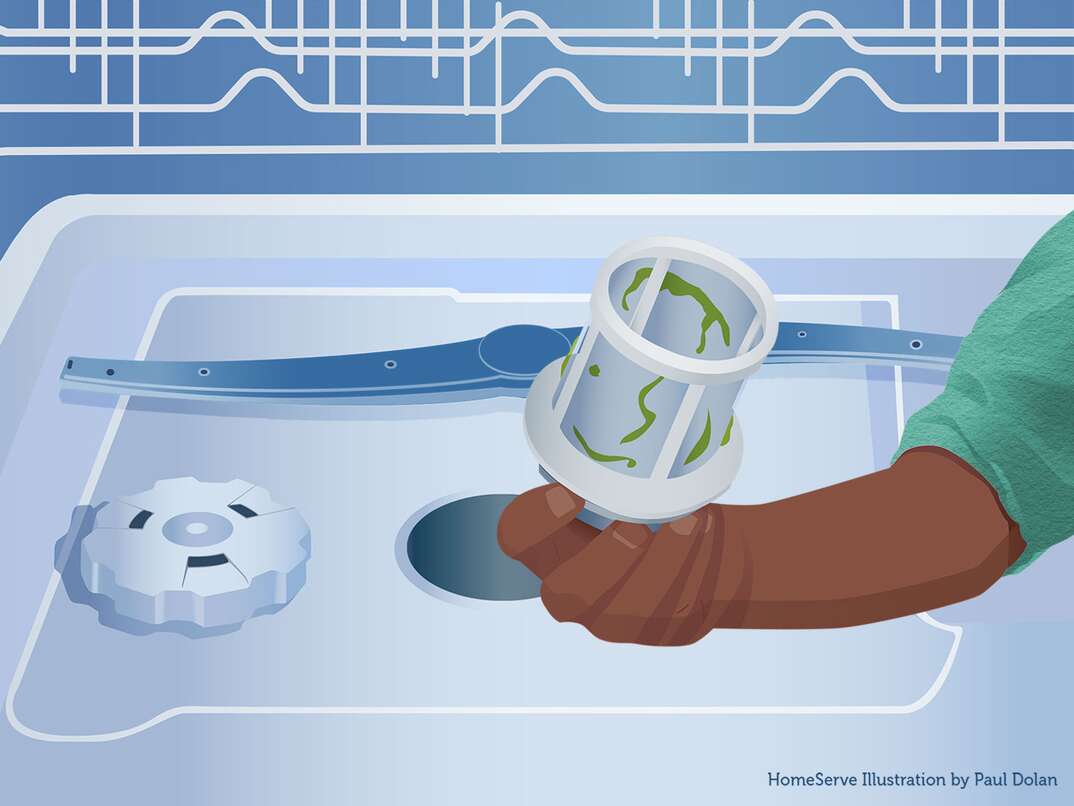
First, we’re gonna clean your dishwasher filters. These filters catch all the gunk and nasty food particles that come off your dishes during a wash cycle so that they don’t clog the drain or wind up right back on your bowls, plates and glasses. If you don’t routinely clean these filters, debris will build up, causing unsanitary conditions and foul odors, not to mention reducing efficiency and shortening the lifespan of your appliance.
The specific location, configuration and removal process for your filters will vary by manufacturer and model — so check your manual — but they’ll generally be found at the base of the inside of your dishwasher, underneath the bottom rack.
Follow these steps to ensure your dishwasher keeps on washing dishes:
1. Remove the bottom rack.
2. Find your fine mesh filter.
3. Remove your fine mesh filter per manufacturer instructions.
4. Scrub out all that gag-reflex-triggering gunk using a clean sponge or brush and warm water with a little bit of dish soap.
5. Now remove your coarse mesh filter.
6. Scrub the coarse mesh filter clean, too.
7. Replace the coarse mesh filter.
8. Replace the fine mesh filter.
9. Replace the bottom rack.
You should do this as often as once a week if you have a large household with daily dishwasher use — but once a quarter will probably put you ahead of most.

2. Clean and Unclog Your Dishwasher Spray Arms
Now, let’s clean and unclog your dishwasher spray arms. Dishwashers most commonly have two spray arms — one at the base of the dishwasher that sprays upward, and one affixed to the underside of the upper rack that sprays downward. These cleaning mechanisms rotate in a fan-like motion during a wash cycle, spewing high-pressure hot water onto dishes in order to break up tough grease and grime.
Over time, the spray holes can become clogged with food debris, detergent residue and mineral buildup, reducing effectiveness and efficiency — making your appliance work harder and shortening its lifespan. But you can lend your dishwasher a hand by regularly cleaning and unclogging its spray arms.
Here’s how:
1. Remove the bottom rack.
2. Remove the upper and lower spray arms, typically by unscrewing them, pulling or disconnecting them from a center fastener.
3. For heavy buildup, soak the arms in equal parts distilled white vinegar and warm water for at least a half-hour but for as long as 2 hours.
4. Scrub on and around the holes with a toothbrush to clear away buildup.
5. Use a toothpick to gently dislodge stubborn stuck-on stuff from the holes.
6. Rinse the arms off.
7. Wipe ’em down.
8. Put ’em back in place.
Do this three to four times a year to keep your arms in good shape.
More Related Articles:
Don’t Get Lost in the Wash: How to Use Your Dishwasher Efficiently
Weird Sound Coming From the Dishwasher? How to Diagnose Dishwasher Noises
The Filth Shall Get Them Clean: Why You Don’t Need to Pre-Rinse Your Dishes

3. Sanitize Your Dishwasher’s Interior
Next, let’s clean and sanitize the interior of your dishwasher. Dish soap residue, food particles and other gunk build up over time in your dishwasher compartment, causing clogs, foul odors and spotty, cloudy, yucky dishes.
Follow these steps for a comprehensive clean:
1. Empty the dishwasher.
2. Remove the bottom rack and utensil holder.
3. Clear out larger debris with your hands.
4. Wipe down the entire interior with a sponge.
5. Use a toothbrush or toothpick to dislodge clogs from your dishwasher spray arm.
6. Pour 1 cup of vinegar into a dishwasher-safe dish.
7. Place it on the top rack.
8. Run a full cycle with the dishwasher empty.
9. When that’s done, sprinkle 1 cup of baking soda into the bottom of the dishwasher.
10. Run a second cycle.
11. Let the dishwasher air out.
No need to overdo this one — every couple of months should be sufficient in terms of frequency.
4. Prevent Mold, Mildew and Moisture Damage
And finally, homeowners, here’s the easiest DIY you’ve ever done. Wanna prevent mold, mildew, must and moisture damage in your dishwasher?
Here’s how:
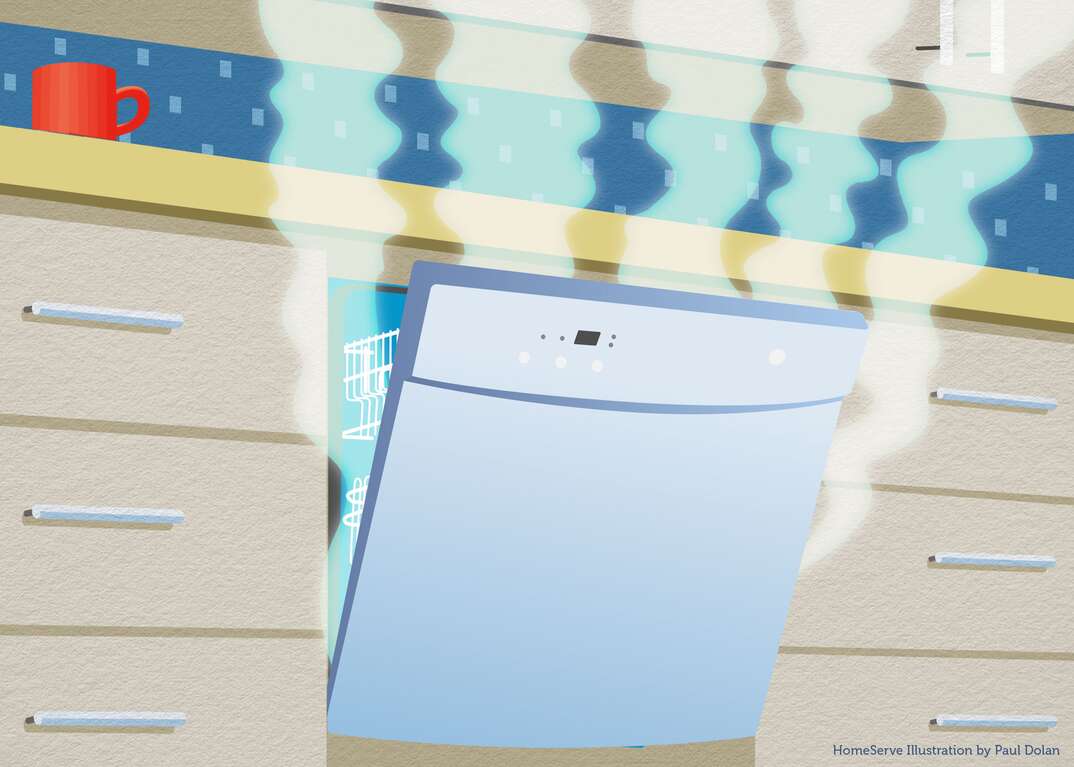
Step 1: Open your dishwasher door … that’s it. One step. Well, you need to leave it like this for a few hours, and preferably overnight — but that’s passive. It’s not really a step.
Anyway, the point is, your dishwasher uses a tight seal to keep the water in when it’s running. That same seal will keep soap-scummy water residue trapped when it’s not running, resulting in unpleasant odors and hard-to-get-rid-of mold if left unchecked. Opening the door to let the inside of your appliance air dry after each use will help prevent the dreaded dank dishwasher.
Worried about causing a tripping hazard for your careless kids or your inattentive other half? Cracking the door open an inch or so should do the trick.
Now tell us that’s not the easiest DIY you’ve ever done.
View Plans in Your Area
Follow us
Popular


Oct 04, 2025

Apr 26, 2021
Get the latest news, tips and promotional messages, including special offers.